Showing posts with label garlic. Show all posts

Wednesday, September 29, 2021

Burnt Garlic Rice

 If there's rice at home and you are bored of eating it with sambar, then this is the dish you should make. If I make this dish, then any quantity of rice in our house vanishes in minutes. The kids just love it and the adults are a fan too.

Very simple to make and very quick too. Breakfast, lunch or dinner - perfect comfort dish. Add peanuts and it gets even better. You just need 4 main ingredients - 5 if you count the peanuts.

BTW, I add peanuts to everything 😁😁.

It enhances the taste of anything and everything. You can skip if you dont like them or are allergic.


INGREDIENTS

Garlic cloves - 10 to 15 (more the better)

Cooked / Steamed Rice - 2 cups

Green Chillies (slit lengthwise) - 2

Coriander Leaves - finely chopped - 1 tbsp

Salt - as per taste


Tempering

Peanuts (optional) - 1 tbsp

Mustard seeds - 1 tsp 

Oil - 1 tbsp


METHOD

  1. Steam / cook some rice with a little less water than usual. That causes the rice to have separate grains. Run a fork in the cooked rice to make it fluffy and cool down.
  2. Take a pan. Add some oil.
  3. When the oil is hot, add peanuts and garlic cloves to it. 
  4. Let the peanuts turn color and the garlic cloves also start roasting.
  5. Add mustard seeds and wait for them to sputter.
  6. Add in the green chillies and stir for a few seconds.
  7. Add in the steamed rice and salt and mix well.
VOILÀ !! You are done - Yes, its that easy 😉

Garnish with coriander leaves and serve hot / warm.

Sunday, February 21, 2021

Aloo Mazedar


Today I'll introduce you all to an awesome fried potatoes dish, which is my husband's favourite curry. 

He likes it so much that whenever we visit a restaurant, my husband asks for this dish there. Of course it's not available in restaurants, because this is a recipe I picked up from the late Tarla Dalal, the famous Indian food writer and chef. I used to love watching her cooking shows. Unfortunately she passed away in 2013 following a heart attack.

Anyways, Without further ado, heres the recipe for all of you.


Also heres how to reach her website - TarlaDalal.com

Thursday, February 11, 2021

Homemade Garlic Butter

Has there ever been a person who hates garlic bread ? I cant think of anyone such.

Garlic Bread is my heavenly comfort food, next to .... nothing I guess ! I think you buy me a few slice of garlic bread and I would forgive your gravest mistake !! Aaah, now the secret is out :)

So since I really really love garlic bread, I wanted to try making it at home. Since store bought butter is highly processed and then if you have garlic butter, you can use it with anything else too. So I set about finding out how to make garlic butter. Turns out it is the simplest thing to make - EVER !!! 

You need just butter, garlic and salt !! Wow that's it ? Lets go learn how.


INGREDIENTS

(Makes 1 cup of garlic butter)

Homemade Butter - 1 cup (unsalted) OR Store-bought butter (salted or unsalted)

            P.S - Will soon put up a recipe on how to make butter at home.

Herbs (optional) - 2 tsps - you can add any herbs for the flavor that you like.

            (Mint, Oregano, Coriander, Thyme, Rosemary etc., etc.,)

Garlic - 10 pods / cloves (If you love the taste of garlic, then add more)

            P.S: Raw Garlic gives out a pungent flavor - so dont add too much.

Salt as per taste (dont add if you are using store bought salted butter)


METHOD:

  1. Add the garlic pods into a mixer jar and crush them coarsely.
  2. If you are using fresh herbs, add along with the garlic and crush them along. If you are using dried powdered herbs, then skip this step.
  3. Melt the butter slightly. Just make it soft and add it to the ground garlic paste. Grind it a bit more.
  4. Remove into a bowl. Your garlic butter is now ready to use.
  5. Spread on bread and toast it for wonderful tasting garlic bread.
  6. Slightly soften it and use it as a dip for your veggie sticks or anything else that you want to dip in it.
  7. Use it on your naans or even on your chapathis. It goes with anything and everything.

Thursday, June 11, 2020

CHOLE !!!

Who doesn't know Chole ? Is there anybody who doesnt like it ? I love chole - provided its made out of chickpeas (the white ones).

Chole is a typical North Indian dish usually paired with Bhature - a form of deep fried puffed bread. Chole is a mouth watering dish which needs a lot of spices. It takes very less time to prep and cook. You still want more reasons to cook this dish ? The white chickpeas are very healthy and contain loads of iron. So for those with iron deficiencies, this is a blessing in disguise. Try this and you surely wont be disappointed.


INGREDIENTS


For the dish:

White chickpeas - 1 cup soaked (close to 2 cups after soaking)
Potatoes - 2 (cut into cubes)
Onion - 1 small (sliced)
Tomato - 1 small (sliced)
1 tea bag (optional) - gives a slight flavor and darker color to the gravy

Garam Masala powder - 1 tsp
Chilli powder (if you want your gravy spicier) - 1 tsp
Turmeric powder - 1 tsp
Chole masala powder - 2 tbsps
Kasoori Methi - 1 tbsp
Coriander leaves - 1/2 cup

Salt as per taste.

For the gravy masala:

Oil - 2 tbsps
Tomatoes - 2 large (diced)
Onions - 2 large (diced)
Garlic - 10 cloves of garlic
Ginger - 1 inch piece
Cloves - 2 or 3
Cinnamon - 1 inch
Cumin Seeds - 1 tbsp
Coriander leaves - 1/2 cup
Green chillies - 2 to 3

For tempering:

Oil - 1 tbsp
Cumin seeds - 1 tsp
Cinnamon - 1 piece
Bay Leaf - 1 or 2
Cloves - 1 or 2


Method:

  1. Boil or pressure cook the chickpeas with the tea bag in 2 glasses of water. The chickpeas should be 3/4 cooked but should still be firm. Drain the water. Keep the water aside and keep the chickpeas aside in a bowl to cool.


  2. Take a pressure cooker pan. Add 2 tbsps of oil. This is for roasting the ingredients for preparing the gravy masala. When its hot, add cloves, cinnamon, cumin seeds. Once they splutter, add onions, ginger and garlic. Fry until onions are soft and tender. Add the tomatoes and cook until soft. Add coriander leaves and mix. Don't cook the coriander long, just a couple of seconds. Switch off and keep aside to cool.


  3. Take a mixie jar and grind the above roasted ingredients to a coarse paste with very little water (use the water from the pressure cooked chickpeas). Add 1 - 2 tbsp of chickpeas (depending on how much gravy you need) along with the masala and grind it all to a fine paste.
  4. Take the pan used earlier. Now to start preparing the dish itself. Add 1 tbsp of oil and add the tempering ingredients. Add the sliced onions and cook well until tender. Add the tomatoes and cook well until tomatoes are soft. Add the potatoes and cook for 2 - 3 mins. Then add the boiled chickpeas and fry for a couple of mins. Add the spice powders - chilli, tumeric, salt etc., and mix well. 


  5. After 2 - 3 mins, add the prepared gravy paste and add some chickpea water. Cover the gravy and allow to boil.
  6. If the gravy is too thick, add some more water as needed. Add garam masala powder and chole masala powder and mix well. If you want the chickpeas more softer, pressure cook this gravy once more, else keep boiling for another 5 mins. The gravy is done. 


  7. Crush some kasoori methi in your hands and add it to the gravy. Add coriander leaves for garnish and mix well. Chole is ready. Serve it with bhature or rice or simple chapathis, parantha - anything... some people even eat it with toasted bread slices. Its yummy in any way.


Thursday, November 3, 2011

Andhra Cauliflower Pickle

I am sure most of you foodies out there know that Andhra Pradesh is famous for its vast variety of pickles, both the ones that can be stored for years and the ones that can be eaten instantly. This recipe for cauliflower pickle is the sort which can be eaten instantly and cannot be stored for long periods of time. One of my close friends loves this pickle and I always make it especially for her. It only requires like 30 mins of your time, including cutting the cauliflower :) Its quick and quite yummy, but also very spicy. So do try it at home, if it appeals to your taste buds :)

Tuesday, February 8, 2011

I am BACKKKKKKKKKK !!!!!!


Hey All !!

I am back to blogging now.... I might as well, because I had to postpone my graduation by another semester. So y deprive myself of something that I love to do.... no no not blogging... I am talking about showing off my cooking skills :)

Just wanted to post some recent pics of my cooking here. Recently captioned the photos :) !!!

Mexican-Indian Medley (Onion Pakodas and Guacamole - I did not make the veggie crispy chips)


Breakfast Strata (egg-based)


Prepping for White pasta sauce


White pasta sauce cooking


Mixing cooked pasta and the creamy pasta sauce

Creamy white pasta

Pasta and garlic bread


Garlic butter used for the garlic bread (above and below)

Garlic bread (fresh out of the oven)

Not-from-scratch pasta (used canned pasta sauce)

From-scratch Lasagna (sauces were from scratch)

Cooked lasagna

Lasagna topped with extra sauce

Masala Omlet !!

Omlet with toast !!

Prepping pizza base (readymade dough)


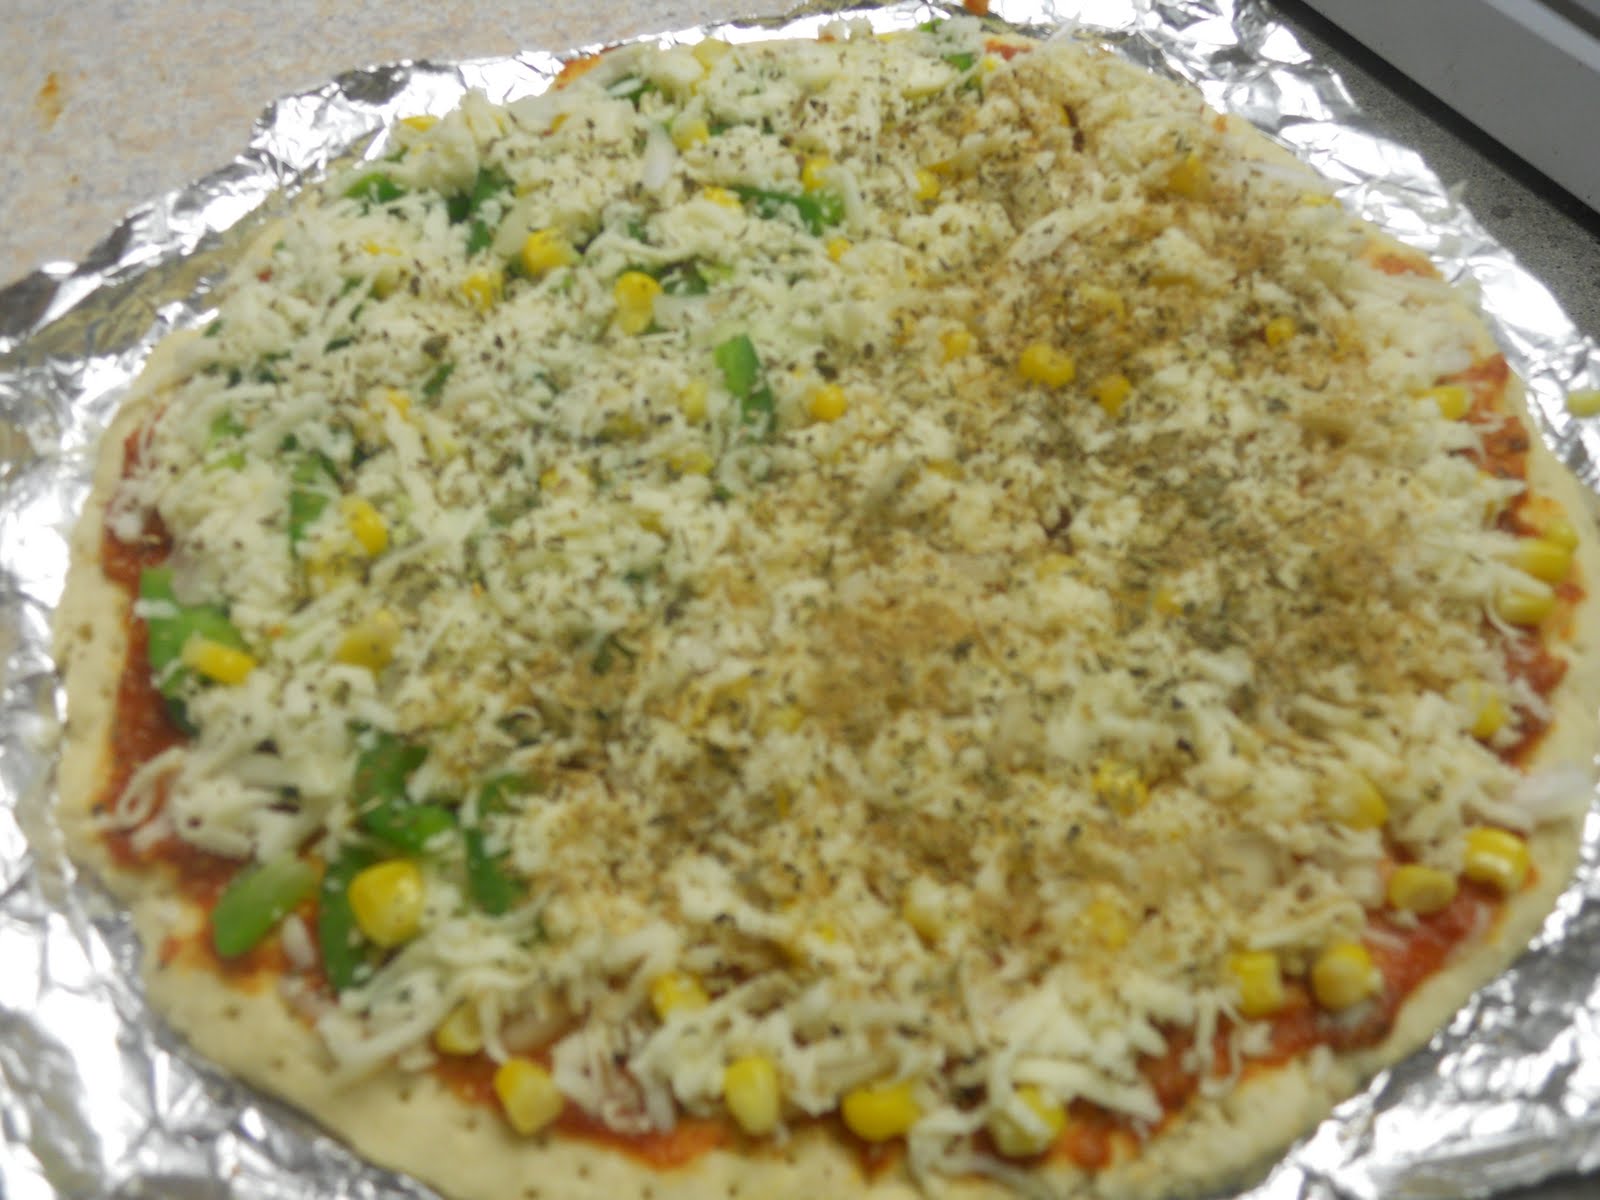
Added toppings to pizza base

Topped with cheeses

Pizza fresh out of the oven

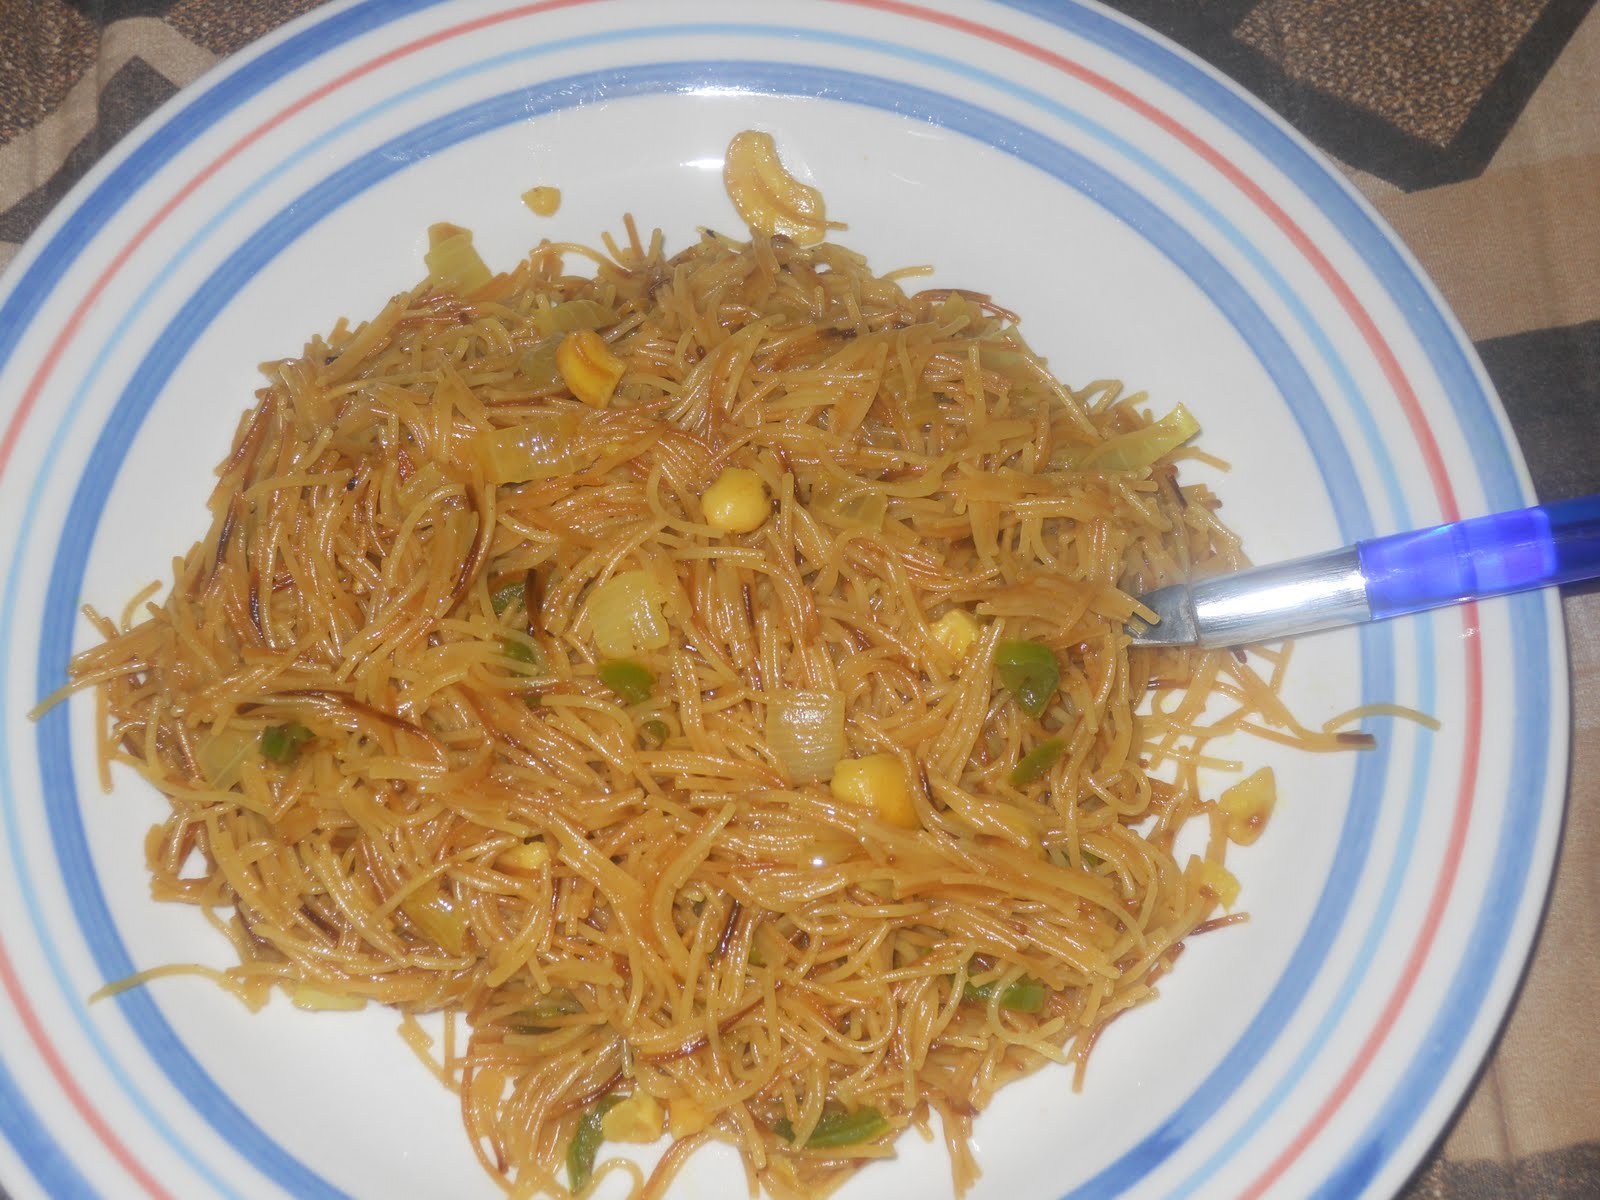
Vegetable sevai upma

Corn and Onion Fritters (pakodas)

Prepping breaded eggplant

Baked (healthy) breaded eggplant


Masala and plain dosas with garlic chutney and sambar


Indianized hashbrowns


Seriously do not remember the name of this sweet anymore :P


Sabudana khichdi :)


Aloo wada with spicy garlic sauce


Maddur Vada


I hope to get free enough to post the recipes soon !!

Until then...

Ciao... So