Panpolo or Neer dosa is a very common breakfast dosa in a konkaNi household. Neer - meaning water in kannada - is a main constituent of this dosa along with soaked rice. The consistency of this dosa is also watery, which is why the name probably. In konkaNi, I think it associates with Paani (water) polo (dosa). However, this is just a guess :) There are several versions of this dosa, with coconut, cucumber, magge (mangalore cucumber / melon), water melon peel etc., I love all these versions, but they all have distinct flavors and I think they are all acquired tastes.
Sunday, July 31, 2011

Tuesday, July 26, 2011
Rava Bhakri / Rullava Bhakri
"Bhakri" in konkani means a hybrid of a dosa and rotti (rotti in kannada - not roti in hindi). So, its a kind of a thick pancake type dish which is a bit crunchier and has a bite compared to a soft pancake. Bhakri can be made out of rice flour, wheat rava, idli rava etc.,
Sunday, July 24, 2011
Cabbage Upkari
Serves 2
Preparation Time (10 min)
Cooking Time - 15 mins approx
Ingredients
Preparation Time (10 min)
Cooking Time - 15 mins approx
Ingredients
1/2 Cabbage (medium sized - chopped)
Grated coconut - 1 tbsp
Green Chillies - 2 - slit lengthwise
Salt - as per taste
Grated coconut - 1 tbsp
Green Chillies - 2 - slit lengthwise
Salt - as per taste
Cooking once again !! :P
Grr... Have any of you hated Firefox sometimes ?? I just wrote this post twice already and both the times, it did not save my post :( Now I have to write it for the 3rd time, fortunately, its working in Chrome... So, lemme collect all my feelings again and.... here it is now....
Monday, July 11, 2011
Peas Pulao
Serves 2
Preparation Time (10 min)
Cooking Time - 20 mins approx
Ingredients
Fresh / Frozen green peas - 2 cups
Rice (preferably basmati) - 2 cups
Water - 3 cups (1.5 times of rice)
Salt - to taste
Preparation Time (10 min)
Cooking Time - 20 mins approx
Ingredients
Fresh / Frozen green peas - 2 cups
Rice (preferably basmati) - 2 cups
Water - 3 cups (1.5 times of rice)
Salt - to taste
Saturday, July 9, 2011
Tostones
Serves 2
Preparation Time (1 min)
Cooking Time - 15 mins
Ingredients
Raw green plantain - 1
Coriander leaves - few sprigs (finely chopped)
Salt - to taste
Chat Masala and / or Amchur powder - 1 tsp each (optional - use if you want to Indianize it)
Oil - for deep fry
Method
Heat up some oil in a frying pan (the wider the better) on a medium flame, so that by the time the preparation is over, the oil is hot enough to start cooking. This way you wont waste much time. (Remember not to start on a high flame)
Wash the plantain thoroughly and peel it (not with a peeler - peel it like you would peel a banana - tips below*).
Cut the plantain into 3/4 inch thick slices. Keep aside until oil is hot.
Once the oil is hot, add the slices one by one into the oil - they should come up in the oil immediately. Turn them over in less than 30 secs. They should not fry much, just until they change color. Remove them onto a paper towel. Reduce the oil to a low flame.
No No its not yet done... Just a few mins more :)
The slices of plantain have a lot of oil absorbed now. Take a glass or a kitchen utensil with a round flat bottom surface. This will be used to flatten out the plantain slices to remove extra oil from them. Take each slice of plantain and using the glass / utensil, flatten out the slice with some pressure (not too much) so that the slice is now just more than 1/4 of an inch thick. Pat the slice dry using a paper towel to remove all the excess oil and keep aside. Do the same with all the other slices.
Meanwhile increase the oil flame again to medium and once it is hot, add the flattened slices of plantain into the pan. Fry them until they are golden brown in color on either sides. This time, the slices don't absorb too much oil. Drain them on a paper towel if you are very health conscious.
Arrange the slices on a serving plate and sprinkle some salt and coriander leaves over them for garnish. Tostones are ready to serve :) ENJOY YOUR MEAL !!
P. S:
I think the picture is from when I made tostones out of two plantains. So don't compare the quantity :)


Preparation Time (1 min)
Cooking Time - 15 mins
Ingredients
Raw green plantain - 1
Coriander leaves - few sprigs (finely chopped)
Salt - to taste
Chat Masala and / or Amchur powder - 1 tsp each (optional - use if you want to Indianize it)
Oil - for deep fry
Method
Heat up some oil in a frying pan (the wider the better) on a medium flame, so that by the time the preparation is over, the oil is hot enough to start cooking. This way you wont waste much time. (Remember not to start on a high flame)
Wash the plantain thoroughly and peel it (not with a peeler - peel it like you would peel a banana - tips below*).
Cut the plantain into 3/4 inch thick slices. Keep aside until oil is hot.
Once the oil is hot, add the slices one by one into the oil - they should come up in the oil immediately. Turn them over in less than 30 secs. They should not fry much, just until they change color. Remove them onto a paper towel. Reduce the oil to a low flame.
No No its not yet done... Just a few mins more :)
The slices of plantain have a lot of oil absorbed now. Take a glass or a kitchen utensil with a round flat bottom surface. This will be used to flatten out the plantain slices to remove extra oil from them. Take each slice of plantain and using the glass / utensil, flatten out the slice with some pressure (not too much) so that the slice is now just more than 1/4 of an inch thick. Pat the slice dry using a paper towel to remove all the excess oil and keep aside. Do the same with all the other slices.
Meanwhile increase the oil flame again to medium and once it is hot, add the flattened slices of plantain into the pan. Fry them until they are golden brown in color on either sides. This time, the slices don't absorb too much oil. Drain them on a paper towel if you are very health conscious.
Arrange the slices on a serving plate and sprinkle some salt and coriander leaves over them for garnish. Tostones are ready to serve :) ENJOY YOUR MEAL !!
P. S:
I think the picture is from when I made tostones out of two plantains. So don't compare the quantity :)

Prepared Tostones - ready to be served :)

Close-up View !!
Tips
Its a little difficult to peel the raw plantains, hence some tips.
Cut the plantain into two. Slit the peel lengthwise in 4 directions (dont cut the plantain lengthwise - take care to only slit the peel). The peel then comes out easily when you try to peel it like a normal banana :) Don't try to peel a plantain without slitting. You might hurt your fingers / nails. The peel is generally too hard.
You can even peel it using a peeler, but you would have to peel out several layers until you reach the actual fruit, which I think is time consuming as well as results in the wastage of some part of the fruit too. I would recommend the previous method.
All work and No Cooking makes......
Well, well, well... what do we have here ? A dull girl ? Maybe !!
I know, I haven't updated my blog in a long time now. So here's something to go by.... I will post one recipe everyday until my store of recipes is over. Haven't been cooking much lately, so there are no pics / new recipes... just old ones. So here goes... check out my next post for a new recipe :D
I know, I haven't updated my blog in a long time now. So here's something to go by.... I will post one recipe everyday until my store of recipes is over. Haven't been cooking much lately, so there are no pics / new recipes... just old ones. So here goes... check out my next post for a new recipe :D
Sunday, May 15, 2011
Graduated !!
YAY !!
Finally I graduated..... I was sooooo DONE !! :) But look at the irony... I have all the time in the world to cook and post recipes n stuff like that, but I have become super lazy :( BUT soon, I will get out of this phase, I am sure of that.
So wait for the yummy recipes :)
- So
Finally I graduated..... I was sooooo DONE !! :) But look at the irony... I have all the time in the world to cook and post recipes n stuff like that, but I have become super lazy :( BUT soon, I will get out of this phase, I am sure of that.
So wait for the yummy recipes :)
- So
Sunday, April 24, 2011
77 days later !!
Looks like a caption in a movie :) not really.... just counted the number of days since my last post. My God !! Have I been busy or lazy ?? Actually, lots of things happening in my life which makes it quite difficult to sit down and post a few things here, let alone having no time to cook :(
I have a list of recipe titles on me. I plan to finish writing the recipes and post them asap, especially for my dear friend Aashu, whom I promised some recipes. Sorry to make you wait Aashu... will definitely do it in the coming month. I am hoping to graduate soon. So, I will have loads of time after that for blogging and ofcourse for cooking :)
- So
I have a list of recipe titles on me. I plan to finish writing the recipes and post them asap, especially for my dear friend Aashu, whom I promised some recipes. Sorry to make you wait Aashu... will definitely do it in the coming month. I am hoping to graduate soon. So, I will have loads of time after that for blogging and ofcourse for cooking :)
- So
Tuesday, February 8, 2011
I am BACKKKKKKKKKK !!!!!!
Hey All !!
I am back to blogging now.... I might as well, because I had to postpone my graduation by another semester. So y deprive myself of something that I love to do.... no no not blogging... I am talking about showing off my cooking skills :)
Just wanted to post some recent pics of my cooking here. Recently captioned the photos :) !!!
 |
| Mexican-Indian Medley (Onion Pakodas and Guacamole - I did not make the veggie crispy chips) |


 |
| Breakfast Strata (egg-based) |

 |
| Prepping for White pasta sauce |
 |
| White pasta sauce cooking |
 |
| Mixing cooked pasta and the creamy pasta sauce |
 |
| Creamy white pasta |
 |
| Pasta and garlic bread |


 |
| Garlic butter used for the garlic bread (above and below) |
 |
| Garlic bread (fresh out of the oven) |
 |
| Not-from-scratch pasta (used canned pasta sauce) |
 |
| From-scratch Lasagna (sauces were from scratch) |
 |
| Cooked lasagna |
 |
| Lasagna topped with extra sauce |
 |
| Masala Omlet !! |
 |
| Omlet with toast !! |
 |
| Prepping pizza base (readymade dough) |

 |
| Added toppings to pizza base |
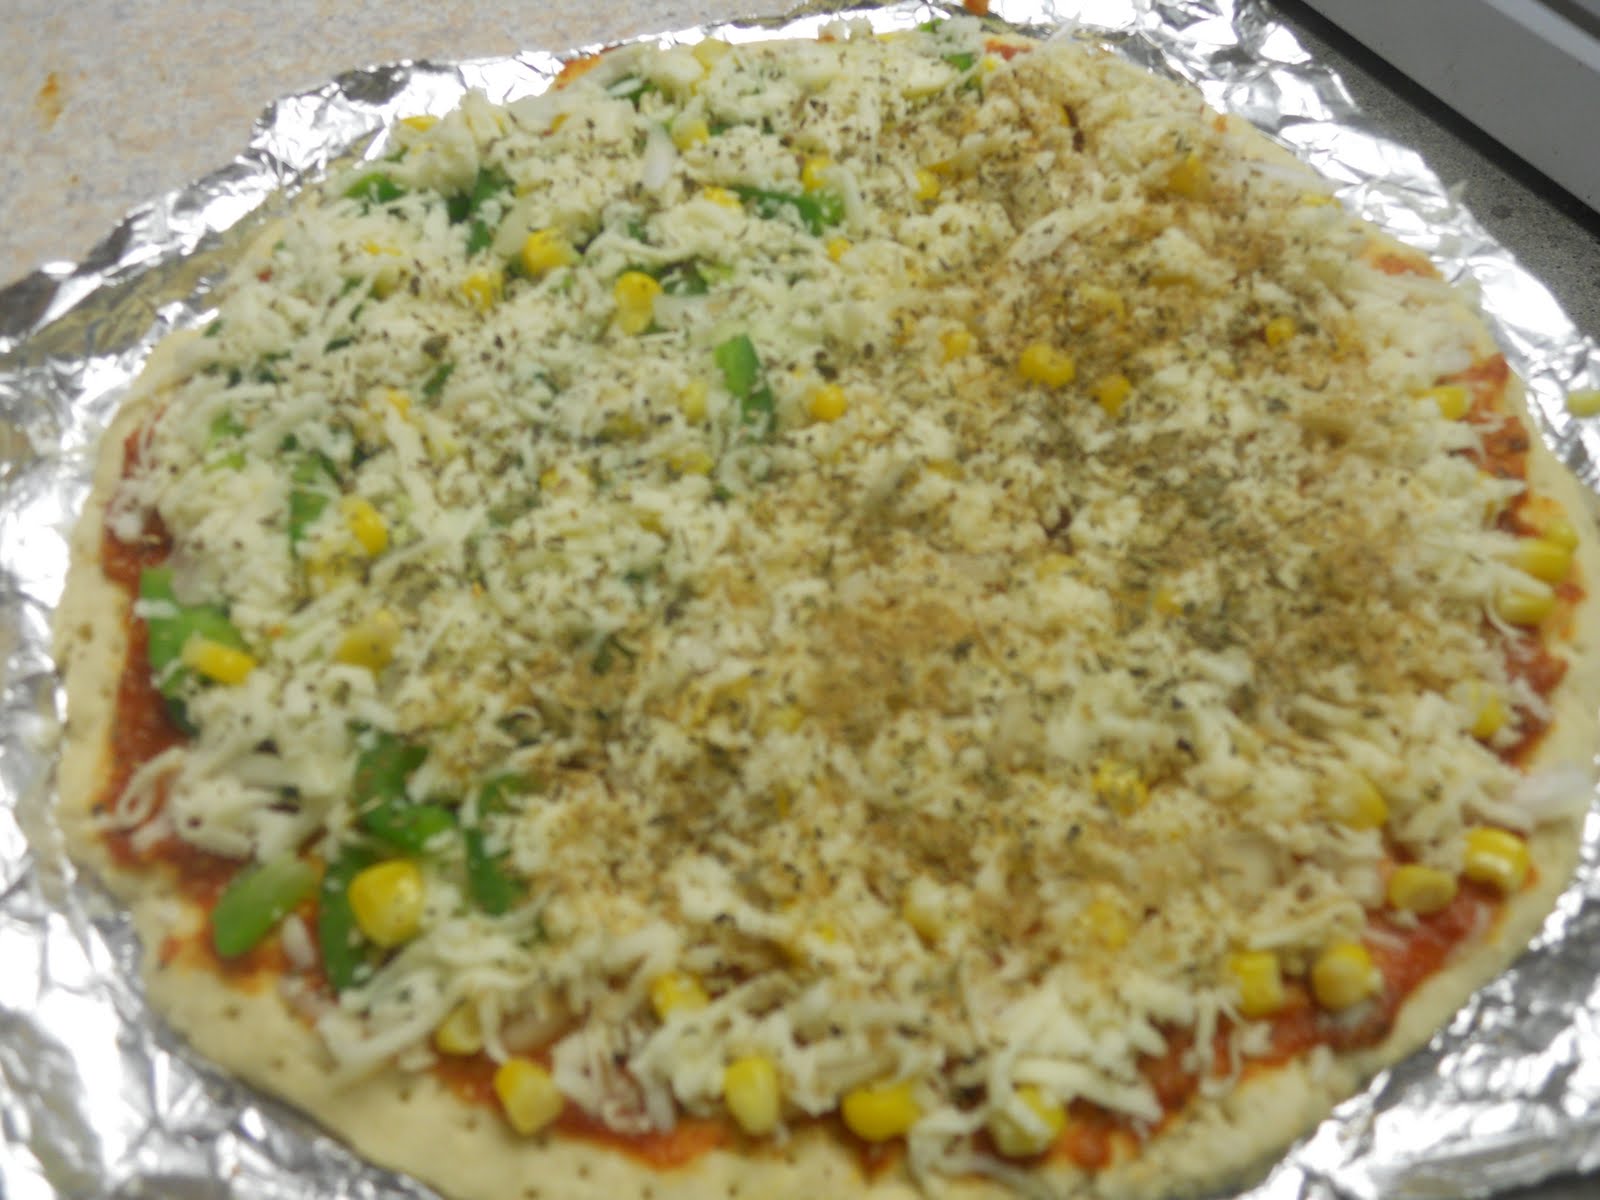 |
| Topped with cheeses |
 |
| Pizza fresh out of the oven |
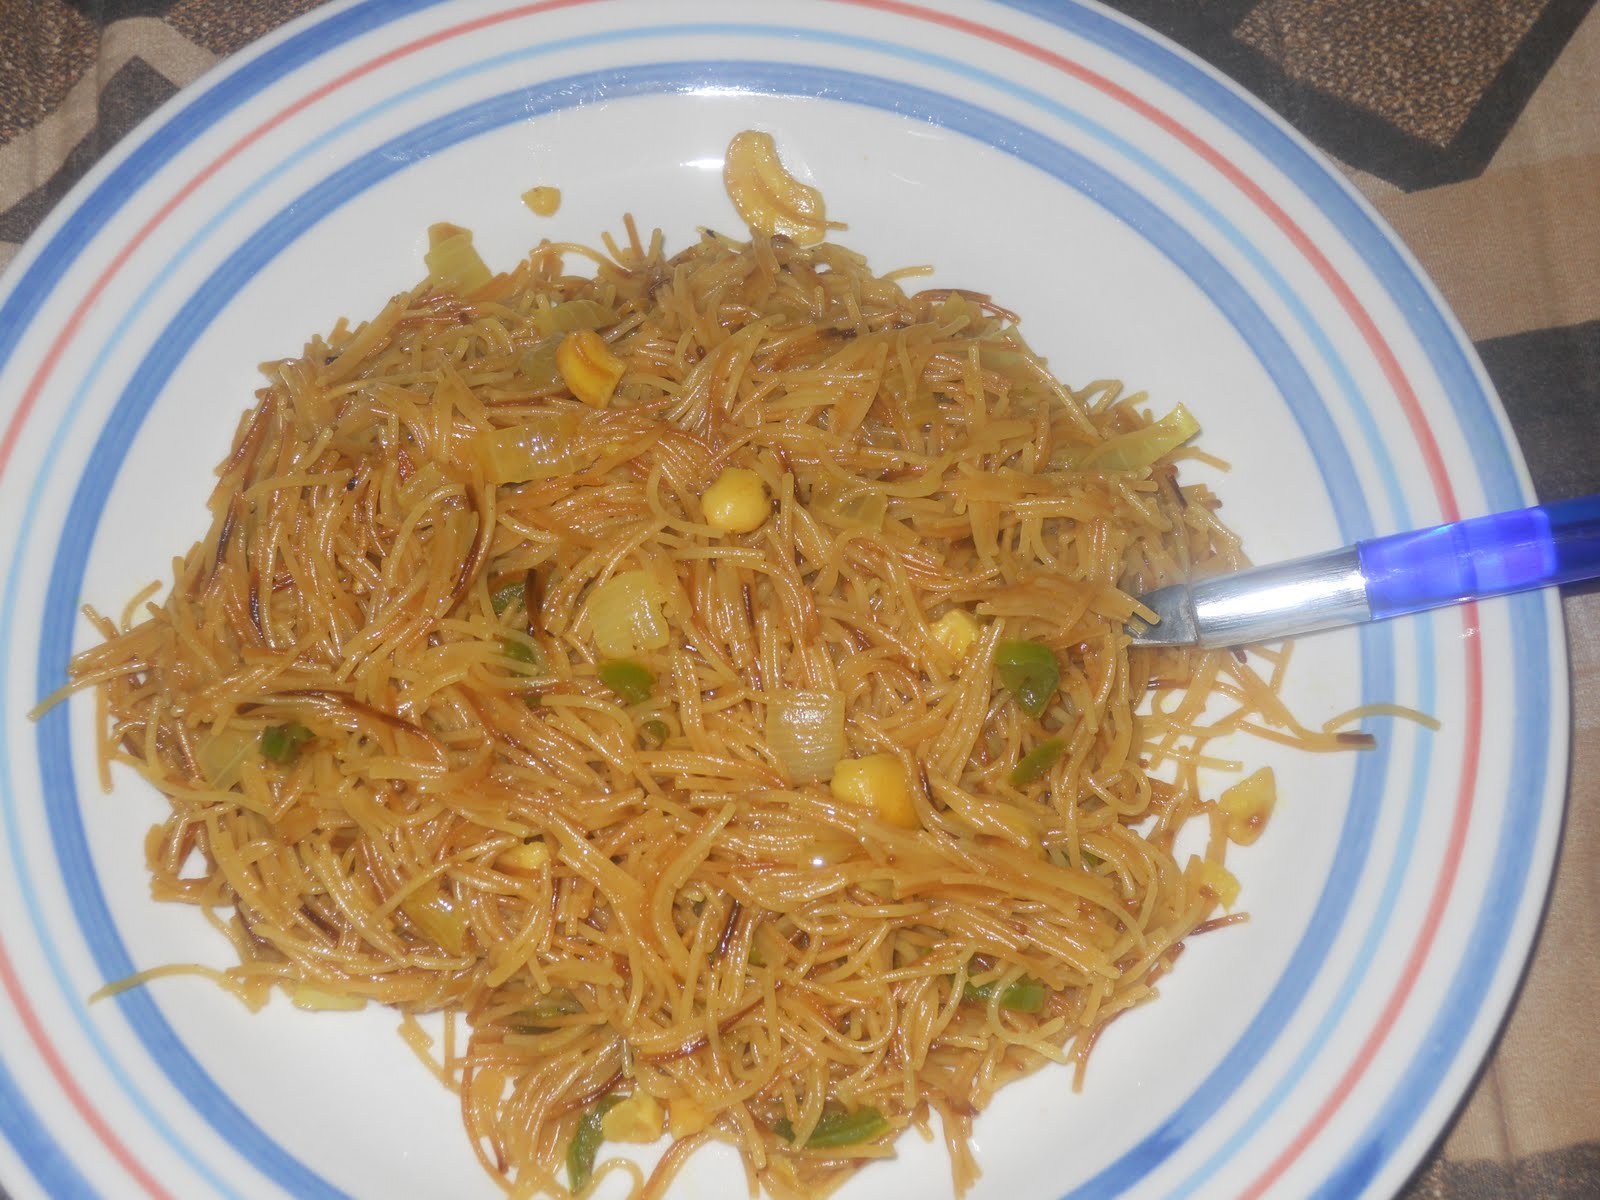 |
| Vegetable sevai upma |
 |
| Corn and Onion Fritters (pakodas) |
 |
| Prepping breaded eggplant |
 |
| Baked (healthy) breaded eggplant |

 |
| Masala and plain dosas with garlic chutney and sambar |

 |
| Indianized hashbrowns |

 |
| Seriously do not remember the name of this sweet anymore :P |

 |
| Sabudana khichdi :) |

 |
| Aloo wada with spicy garlic sauce |

 |
| Maddur Vada |

I hope to get free enough to post the recipes soon !!
Until then...
Ciao... So
Sunday, November 14, 2010
Busy Days
Sorry haven't been blogging in a while now.... I have been pretttttty busy with my thesis and research and coding and what not.... Ah !!! The woes of graduate life.
Thankfully my professor decided that I can graduate this semester. So I have been overly busy writing my thesis and completing the project, tweaking the performance.... etc., etc.,
Also the job search is not going that great. So, there it is.
However, I haven't stopped cooking. So I have a bunch of photos to put up.
Hopefully I should be back to frequent blogging soon.
'til then.....
- So
Thursday, October 21, 2010
Bread / Garlic Bread Pizza
On request from my close friend, here is the recipe for garlic bread pizza or simply bread pizza....
Ingredients
Serves 2 ( 3 slices each)
Preparation Time (5 -10 mins -- depends on your vegetable cutting speed :) )
Cooking Time - 20 mins
Bread / Garlic bread - 6 slices
Onions - 1 small
Tomatoes - 1 large
Capsicum - 1 medium
Red Pepper - 1 medium
Coriander leaves - few twigs (optional) (finely chopped)
Pepper powder - 1 tsp
Salt - as per taste
Chat Masala and / or Amchur powder - 1 tsp each (optional)
Mozzarella Cheese (shredded) - as per taste
(Remember that different kinds of cheese have different melting times - Mozzarella I think melts the fastest)
Butter - to apply on the bread (not needed if using garlic bread)
Aluminium Foil / Cookie Sheet (for arranging bread slices in the oven)
Method
Pre-heat the oven to 350 / 400 F. When the oven is getting heated, cut all vegetables into thin long slices.
Arrange 6 buttered slices of bread onto a cookie sheet / aluminium foil. Top them with all the sliced vegetables. Sprinkle with coriander leaves and the other powdered ingredients. Sprinkle generously with cheese (for a cheese lover), else as per your taste.
Oven will be pre-heated by this time. Pop the cookie sheet / foil into the oven. Set the timer to 20 mins if the oven setting was 350 or 15 mins if it was set to 400.
Keep an eye on the bread. If the cheese starts to melt, then it signifies that the pizza is almost done. So once more than 3/4 th of the cheese has melted, then you can go ahead and switch off the oven (doesnt matter what the timer shows). Leave the bread in the oven for another 2 mins, for it to fully cook inside out.
Bread / Garlic bread pizza is now ready !!! ENJOY with tomato ketchup!!!
Ingredients
Serves 2 ( 3 slices each)
Preparation Time (5 -10 mins -- depends on your vegetable cutting speed :) )
Cooking Time - 20 mins
Bread / Garlic bread - 6 slices
Onions - 1 small
Tomatoes - 1 large
Capsicum - 1 medium
Red Pepper - 1 medium
Coriander leaves - few twigs (optional) (finely chopped)
Pepper powder - 1 tsp
Salt - as per taste
Chat Masala and / or Amchur powder - 1 tsp each (optional)
Mozzarella Cheese (shredded) - as per taste
(Remember that different kinds of cheese have different melting times - Mozzarella I think melts the fastest)
Butter - to apply on the bread (not needed if using garlic bread)
Aluminium Foil / Cookie Sheet (for arranging bread slices in the oven)
Method
Pre-heat the oven to 350 / 400 F. When the oven is getting heated, cut all vegetables into thin long slices.
 |
Prepping for garlic bread pizza |
Arrange 6 buttered slices of bread onto a cookie sheet / aluminium foil. Top them with all the sliced vegetables. Sprinkle with coriander leaves and the other powdered ingredients. Sprinkle generously with cheese (for a cheese lover), else as per your taste.
Oven will be pre-heated by this time. Pop the cookie sheet / foil into the oven. Set the timer to 20 mins if the oven setting was 350 or 15 mins if it was set to 400.
 |
Into the oven it goes !! |
Keep an eye on the bread. If the cheese starts to melt, then it signifies that the pizza is almost done. So once more than 3/4 th of the cheese has melted, then you can go ahead and switch off the oven (doesnt matter what the timer shows). Leave the bread in the oven for another 2 mins, for it to fully cook inside out.
Bread / Garlic bread pizza is now ready !!! ENJOY with tomato ketchup!!!
 |
Yumm !!! Baked bread pizza pieces.... |
Monday, October 4, 2010
Yummy Days !!
|
| Prepping for garlic bread pizza |
|
| Into the oven it goes !! |
|
| Yumm !!! Baked bread pizza pieces.... |

|
| Tostones !!! Mexican - Cuban dish.... Really yummy *slurp slurp* |

 |
| Egg Masala Curry.... prepared it, but never tasted it :( |
 |
| Aloo Wada !! |


 |
| Masala Dosa !!! *drool drool* |
 |
| Sambar !!! :P |

 |
| Dabeli...... |
 |
| Parathas..... !! |
 |
| Aloo Bhajiyas -- bhajiyas and chai on a windy rainy day :P Awesome combo :) |

 |
| Besan ke laddoo --- every grandmom's nightmare :P |
 |
| Gobi Masala !! |
 |
| Pan Polo / Neer dosa --- my ever favorite dish :D |

 |
| Peas Pulao and Masala boiled eggs |
 |
| SLURRRRRRRRRRRPY !!! Paneer Tikkas.... |
 |
| Can you ever refuse Gobi Manchurians !! ? |

 |
| Kachoris !!!!!!!!!!!!!!!!!!!! Aaah .... |
 |
| Walnut brownie --- just warm out of the oven :) |
Subscribe to:
Posts (Atom)